Recent Posts
Categories
Galvanised steel under ramp protector
Posted on January 28th, 2007 by James.
Categories: Pinball.
As you may recall, last Tuesday my under ramp finally cracked, after I fired the ball into the start mission hole.
At the time I was cutting up my exhaust to make a shuriken and I thought that I could use the exhaust metal to repair the under ramp. That was a crap idea, so on to Plan B!
Using the chrome exhaust metal was a crap idea for two reasons:
- Exhausts are bloody thick! Bending that T piece I made is nearly impossible.
- Exhausts, although shiny on the outside are filthy on the inside… and I really didn’t fancy giving myself asthma, grinding out the inside to clean it.
So, plan B! Pop over to B&Q and what do I find? A lovely chunk of 0.6mm galvanised steel! Awesome stuff!
Random Trivia:
Galvanisation (crikey, I actually spelt that right first time!) is a chemical process that coats the steel in a layer of zinc. Zinc doesn’t break down like iron when it oxidises, which means it’s pretty much rust proof. Also of interesting note (and I just found this out by googling to check my spelling of galvanisation) is that the size of crystallites in galvanized coatings is known as spangle! How cool is that?! 🙂
Anyway! Back in the garage I surveyed the damage:
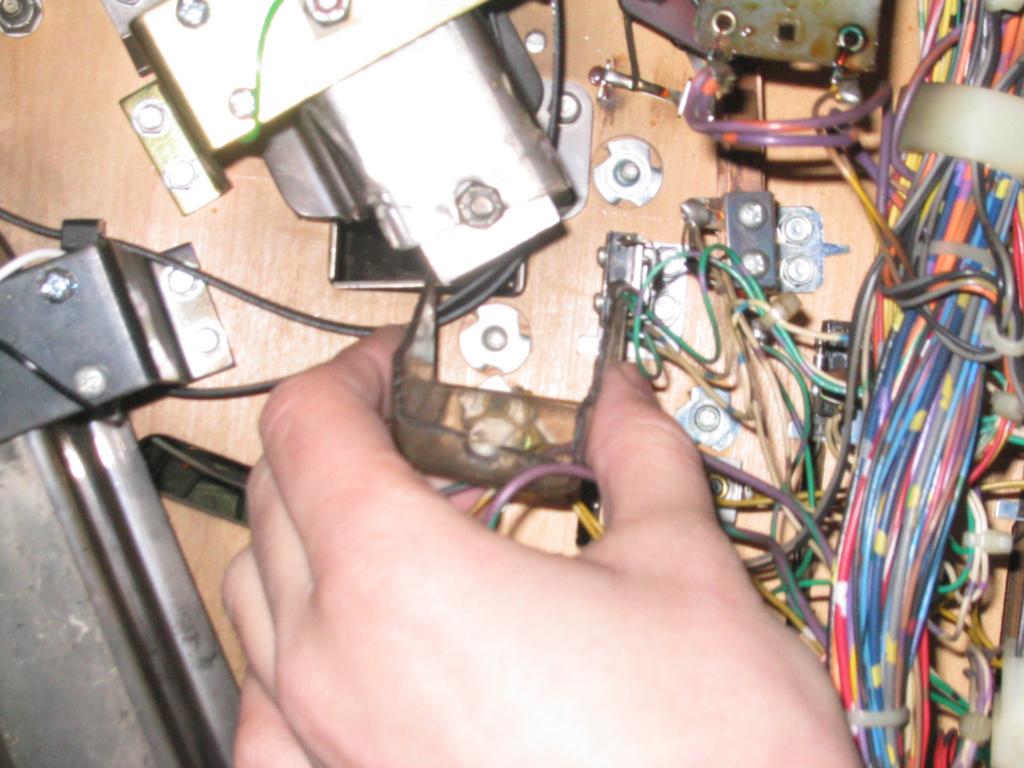
The end bit of the ramp has cracked off right next to a bolt that sticks out from the ramp. Above the broken bit is the under borg lock opto set. Their bridge is attached with two bolts coming out of the ramp. I decided to use these three bolts to hold my ramp repair/protector in place.
To find out what size I needed everything to be, I got some paper and cut it roughly to size, wrapped it around the broken bit of plastic and put it on the ramp. I pushed the bolt through the paper and marked all the key points on the paper like the position of the opto holes in the ramp. Next I removed the opto bridge and put another piece of paper over that and marked up where it intersected.
Then I made up proper sized paper parts from my notes and checked they all fitted. Once I’d confirmed that all I had to do was flatted them out on my nice sheet of galvanised steel and cut everything out 🙂
Bending the steel into shape wasn’t too hard. It’s 0.6mm thick, so it’s thin enough to bend without breaking your fingers, but plenty strong enough. I bolted the broken plastic on the steel T then pressing gently but firmly, bent the steel around it. For the opto section I marked where it should fold with a pen, and bent it on my workbench over a wooden block.
The result is a pretty kick arse customised ramp protector!
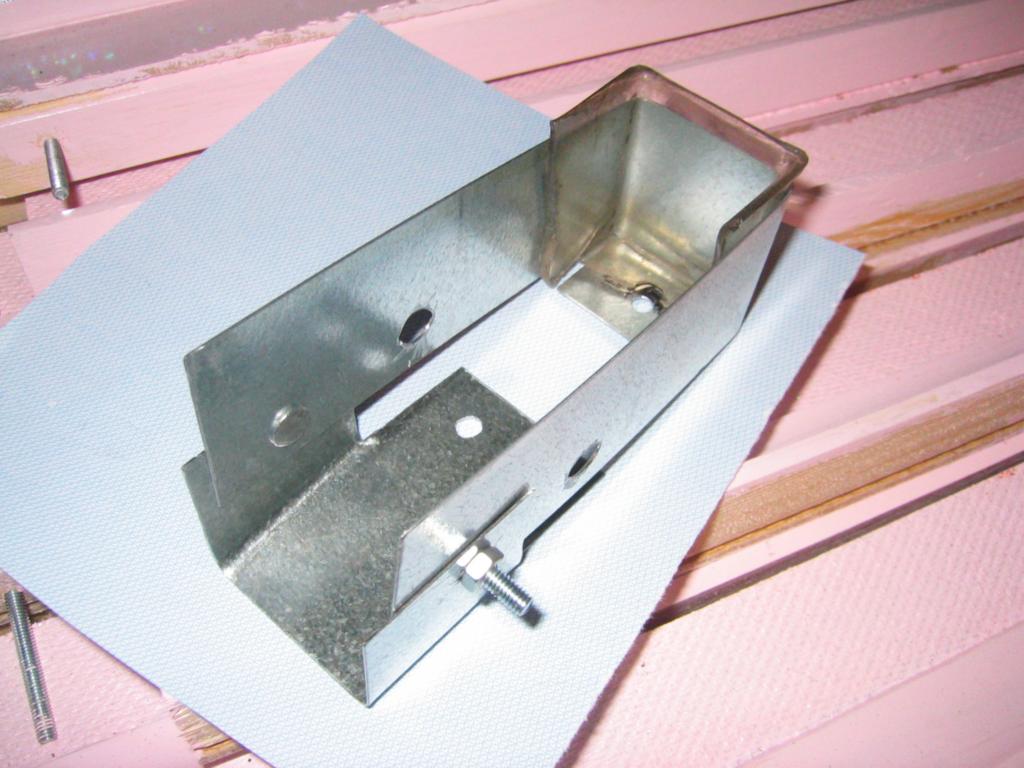
The bottom bit in the picture bolts to the opto bridge. The holes in the side are for the opto to shine through. As you can see in the picture, I also grinded down the heads of the screws, used to connect the two pieces. I made them as smooth and flat as possible, so not to damage anything, or bend the metal out of place.
When fitted the broken end piece is held firmly in place with the metal wrapped around it and doesn’t move at all 🙂
Here it is installed:
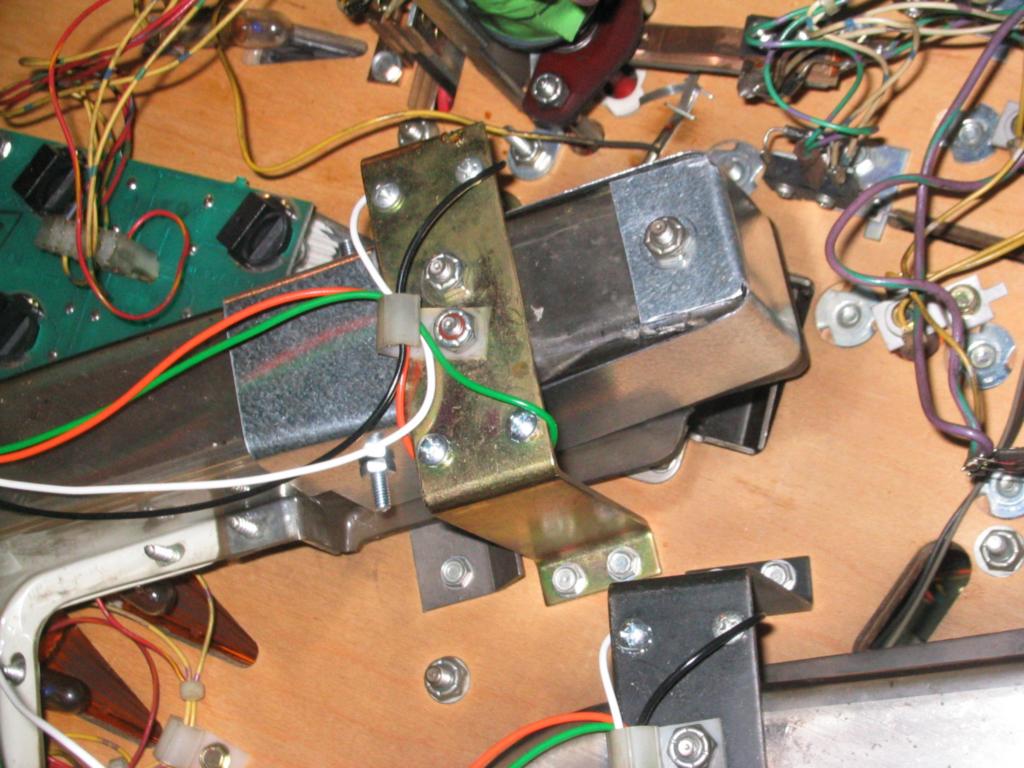
I’m rather proud of this, it’s a perfect fit 🙂
0 comments.
Leave a comment
Comments can contain some xhtml. Names and emails are required (emails aren't displayed).