Recent Posts
| M | T | W | T | F | S | S |
|---|---|---|---|---|---|---|
| 1 | 2 | 3 | 4 | 5 | ||
| 6 | 7 | 8 | 9 | 10 | 11 | 12 |
| 13 | 14 | 15 | 16 | 17 | 18 | 19 |
| 20 | 21 | 22 | 23 | 24 | 25 | 26 |
| 27 | 28 | 29 | 30 | |||
Categories
Superglue to the rescue
Posted on November 15th, 2006 by James.
Categories: Pinball.
After the horrible failure of my last set of plastics prints, which where way to dark, I decided to try and brighten them up a bit. Unfortunatly it didn’t do much good. As soon as you spray the white paint on the back they’re just too dark again. Unless I install lighting under my plastics, it’s just not going to work.. So I decided to try sticking photo paper directly to the plastics instead.
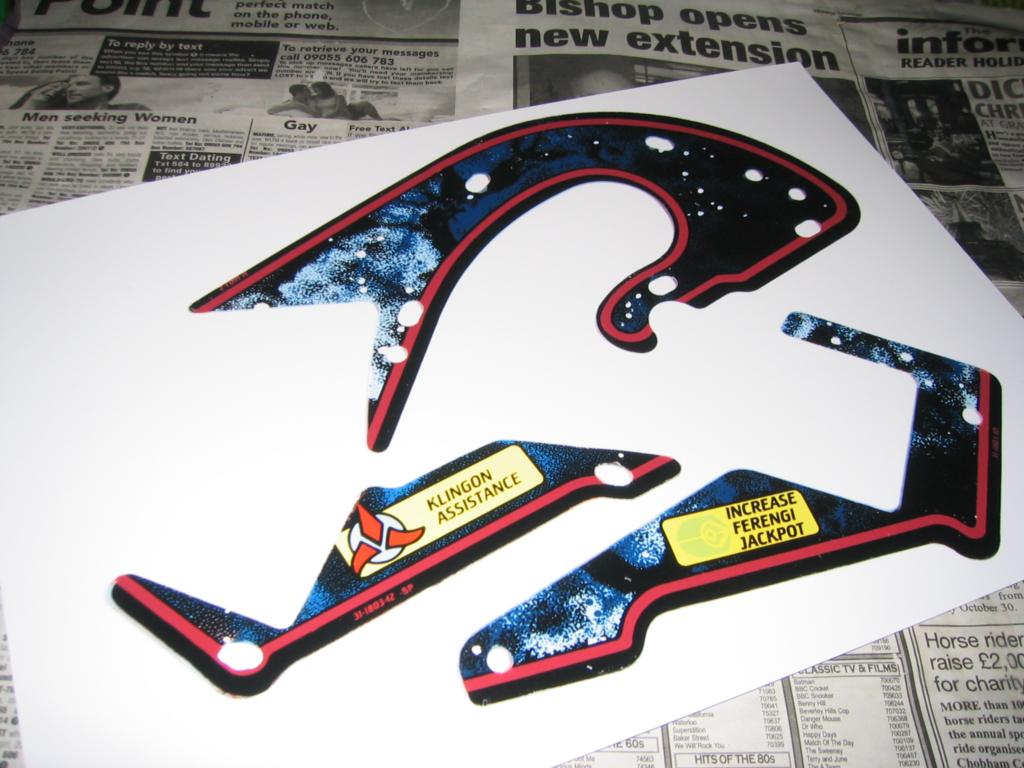
It took me agessss of fiddling to get these to look like this. I printed out a ton of samples trying to get them to colour match to the originals, to no avail! Why is it that what is on the screen and what prints out never match?! Then I realised that if this works, I can create a whole new set of plastics, so I don’t need to colour match if I’m replacing the whole lot!. Sneeky huh 😉 Eventually I ended up with this (above), which I think actually looks better than my originals. My originals look like they’ve been sun bleached (no idea why a pinball machine would be sitting outside in the sun!?), and these ones I’ve printed have much richer colour and darker blacks.
Next came the problem of sticking them to the plastic. This is one of the reasons I was using sticky transparancy paper in the first place. It’s designed to stick and dry clear.. Plus I’m sure I read somewhere that you’re supposed to use transparancy paper.. now of course I think it’s a crap idea 😉 Use photo paper!!!
We had some wood glue lying around from another project I’m working on, so I thought.. wood glue.. paper.. should work! I printed out a little test sample and got an offcut of plastic and slathered on the wood glue. It wasn’t too hard to smooth out the bubbles. I left it overnight and in the morning it had dried clear (just like it said on the tin:)) and looked great! Infortunatly the glue hadn’t stuck at all to the plastic, so the decal the peeled right off.. arse.. 🙁
I rummaged around for glues and found a tube of liquid superglue (not the gel stuff). I tested it on a sample and it glued rock solid almost instantly and dried clear! 🙂 The only problem with that being the drying almost instantly part!
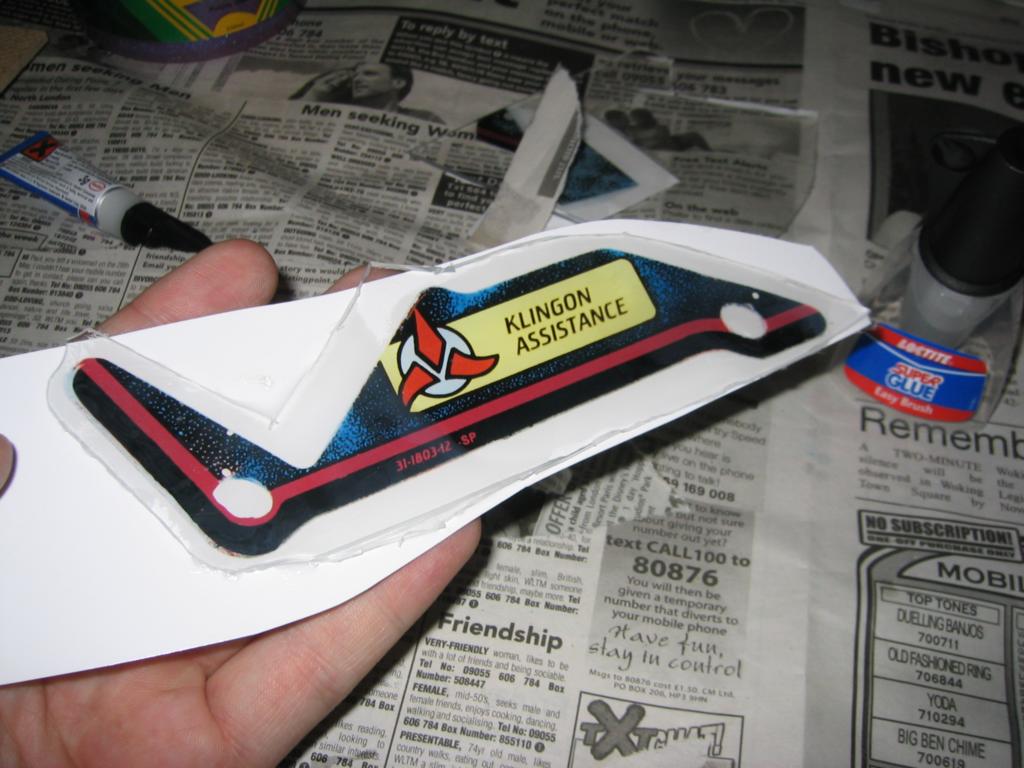
I decided to try the smallist plastic first as a test. The Klingon Assistance. I left a big border around the printout to catch any extra glue when I squeezed it flat. I dabbed a tiny tiny dot of superglue on the edge of the plastic and then very very carefully put it over the printout so that it lined up perfectly. I left it to dry for about 20 seconds. The tiny dot holds the printout in alignment with the plastic. Next I peeled the printout away from the plastic and covered it in superglue (I got a superglue liquid with brush) being very very careful to not get it all over my fingers! (which didn’t really work!) Then I squished it together really quickly trying to get all the bubbles out. It was pretty difficult because it drys to quickly, but I think i did a pretty good job!
Check it out!:
I failed at the not getting superglue all over my hands part. I got a dab on the bottom of my palm. I didn’t realise until I put my hand on the newspaper (that I’d covered my dining room table with).. I lifted my hand and a sheet came up with it. I peeled it off, but theres a circle on my hand still with a section of newspaper stuck it to!! You can’t get it off, it’s insanly strong!
Random Trivia: Superglue was used in Vietnam to bond skin together for emergency medical use.
0 comments.
Leave a comment
Comments can contain some xhtml. Names and emails are required (emails aren't displayed).