Recent Posts
| M | T | W | T | F | S | S |
|---|---|---|---|---|---|---|
| 1 | 2 | 3 | 4 | |||
| 5 | 6 | 7 | 8 | 9 | 10 | 11 |
| 12 | 13 | 14 | 15 | 16 | 17 | 18 |
| 19 | 20 | 21 | 22 | 23 | 24 | 25 |
| 26 | 27 | 28 | 29 | 30 | 31 | |
Categories
Project Shed
Posted on May 23rd, 2008 by James.
Categories: General.
Many many moons ago, there was a nice clean tidy house. It’s rooms were spacious and full of potential. You could swing a cat.. and the acoustics were wonderful.
Then we moved in and slowly accumulated “stuff”.. “things”.. and “bits’n’bobs”. They piled up.. evolved.. and formed gangs, which attacked us on the way to the fridge. We fought back with charity shop donations and car boot sales, but the onslaught eventually overpowered us.
So, in capitulation to their demands, we thus embark on “Project Shed”. A shiny new home for our devious captors.
Day 1
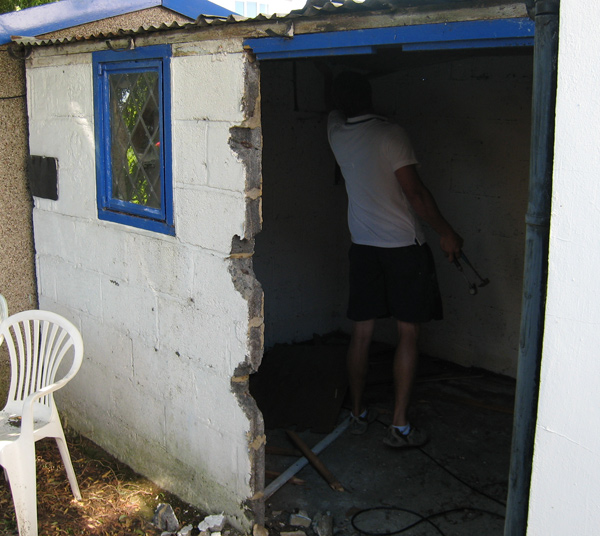
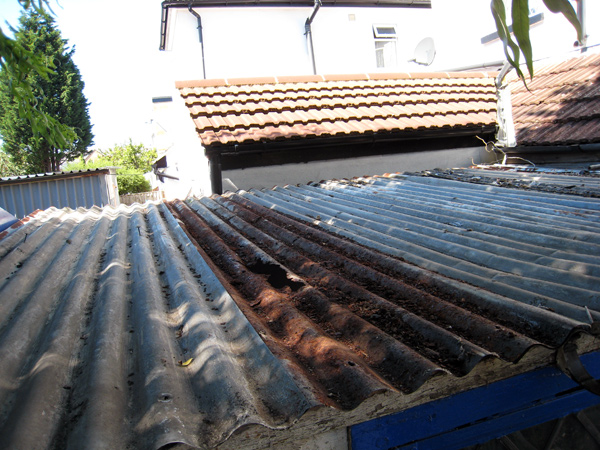
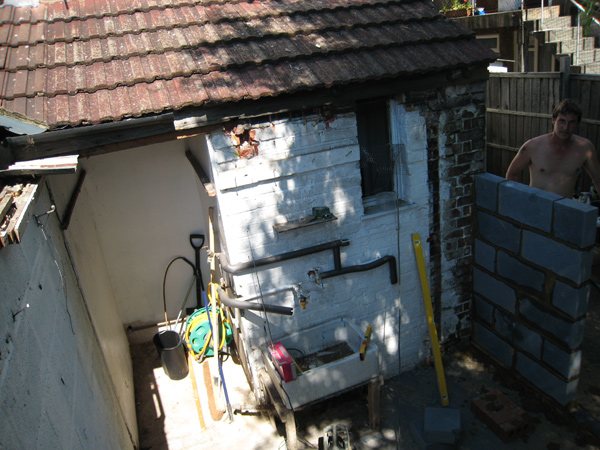
The old shed. Dirty, leaky, unsafe for human habitation. Project shed stage #1: DESTROY!
My mate Jon the builder, who pretty much did this entire thing while I sat around eating biscuits and taking pictures 😉
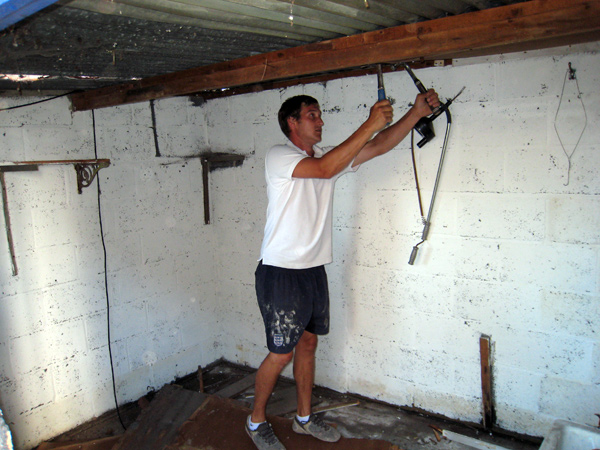
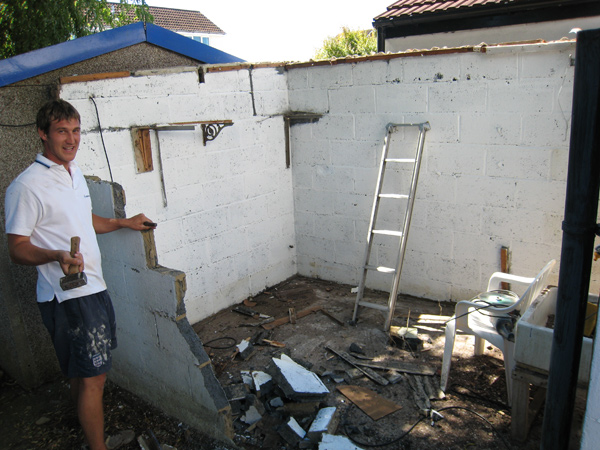
Day 2
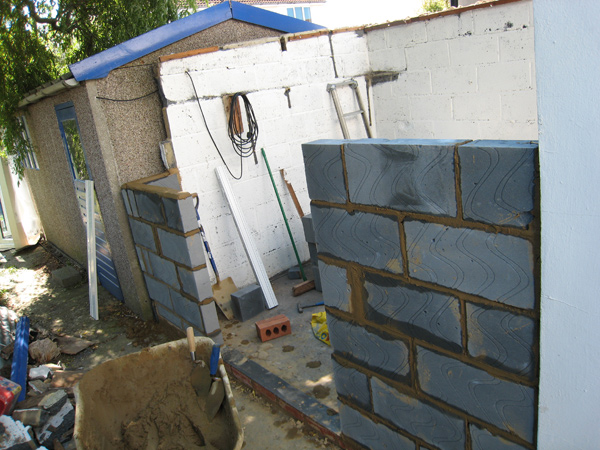
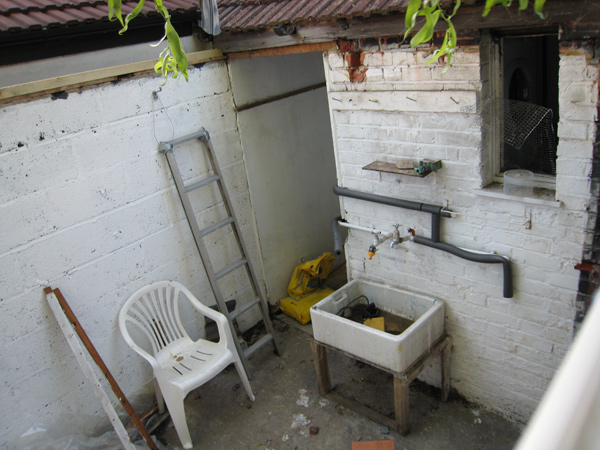
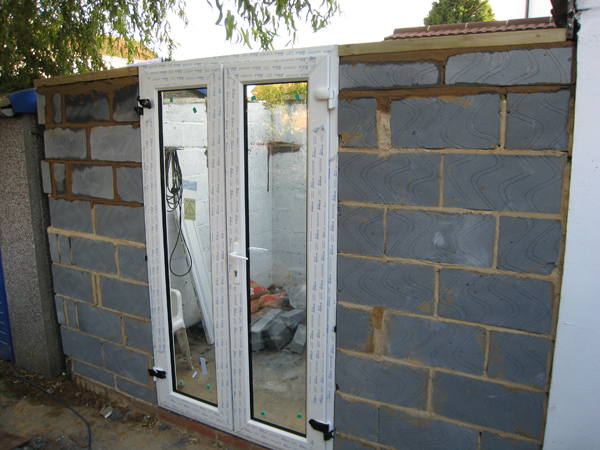
To maximise the available space, we rebuilt the outer wall to be in line with the garage, giving us an extra foot of space inside. In the pic on the right, you can see all the plumbing coming out of the laundry room. That all had to go! We’re not having a sink in my sexy new room.
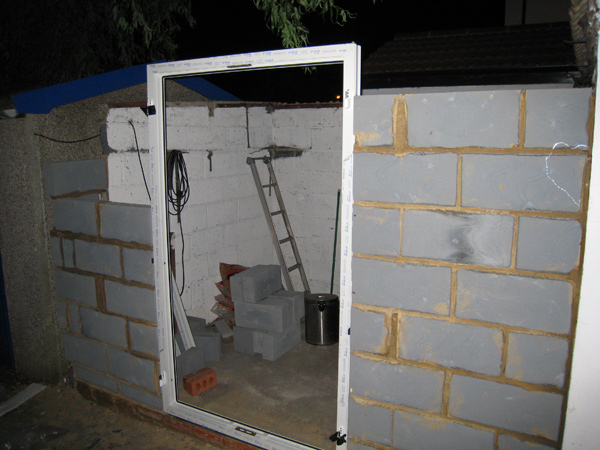
Door frame in place, while we wait for the wall to dry.
Day 3
Level up!
Day 4
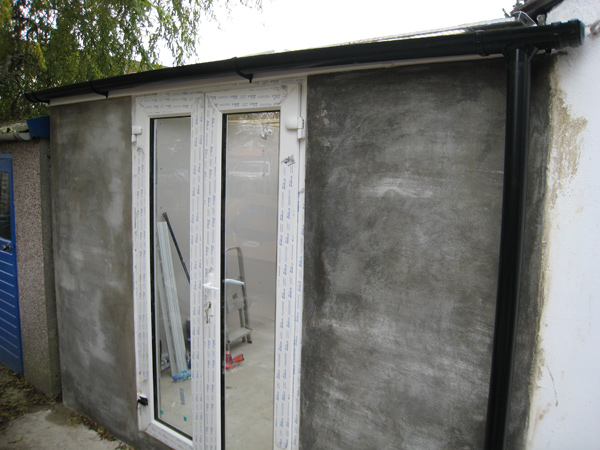
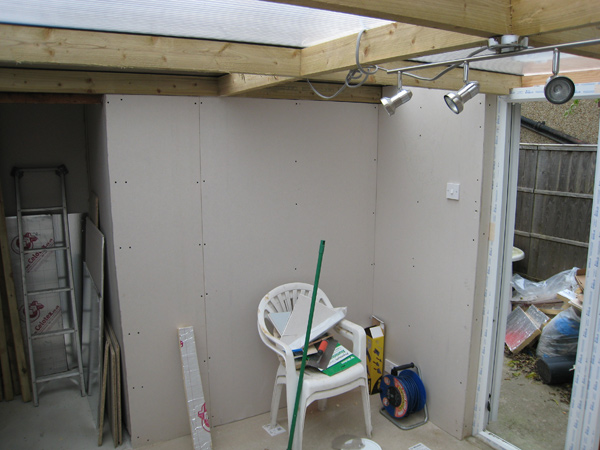
Render on the outside wall, new roof and insulation inside! Behind the plaster board are wood batons with foil backed insulation material. This place is going to be nice and warm in winter! Outside you can see the edge of a huge pile of crap! That pile extends down the entire length of the garden and when we were finished, took two cars, 4 trips to the dump to get rid of! (Thanks little sis for helping out!)
Day 5
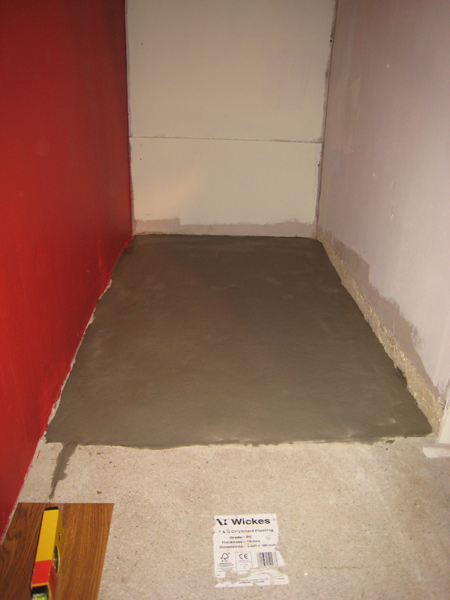
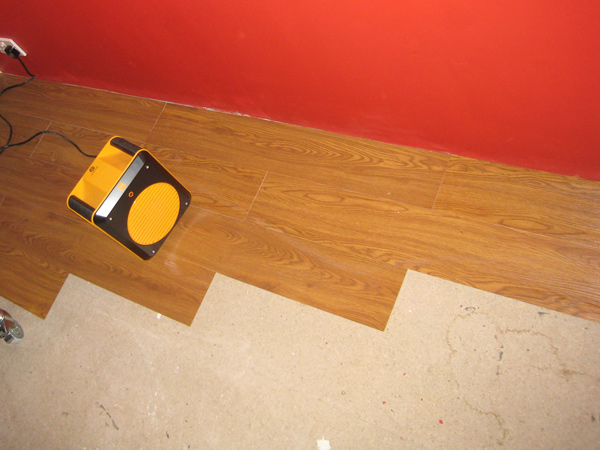
Most of the floor is interlocking wood flooring placed on wood batons for extra insulation, but this space in the top left was too shallow. The dark wet patch is levelling fluid, which you just poor on the floor and it drys completely flat. When the room is finished this totally flat area will be completely level and perfect for my pinball machine! 🙂 On the right, you can see the laminate flooring being stuck down to give a nice finish.
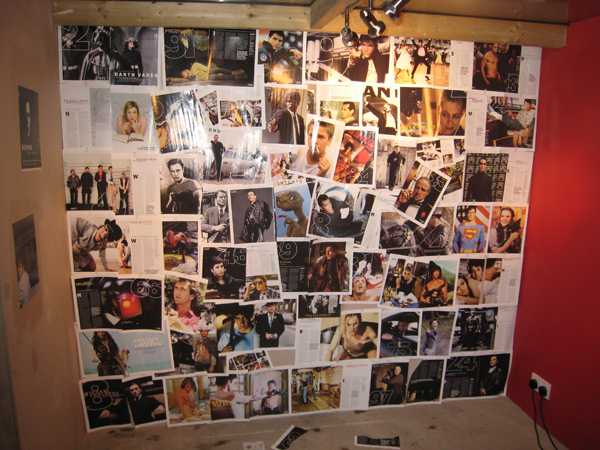
When I started I said to Rachel that I wanted this to be 100% her space for her to work in. I was a little hesitant when she said she wanted one wall to be red and do a film montage on another, but check it out! Doesn’t it look awesome! 🙂
Day 6
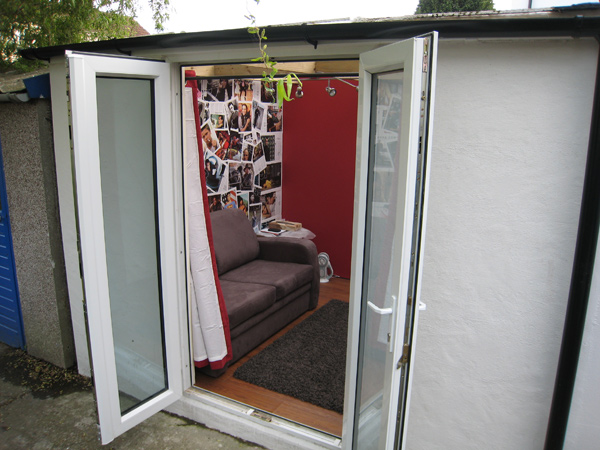
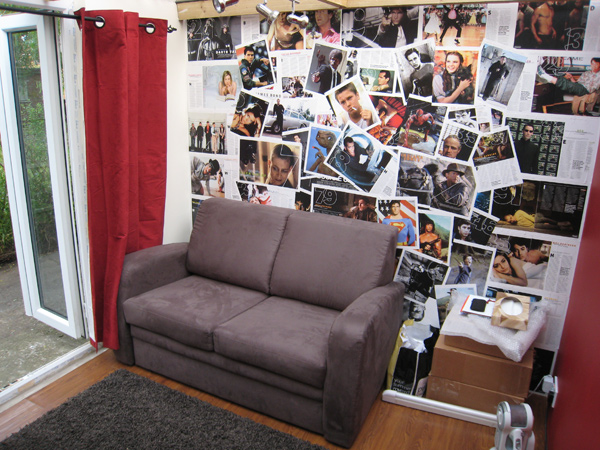
Finally finished! Complete with sofa bed!
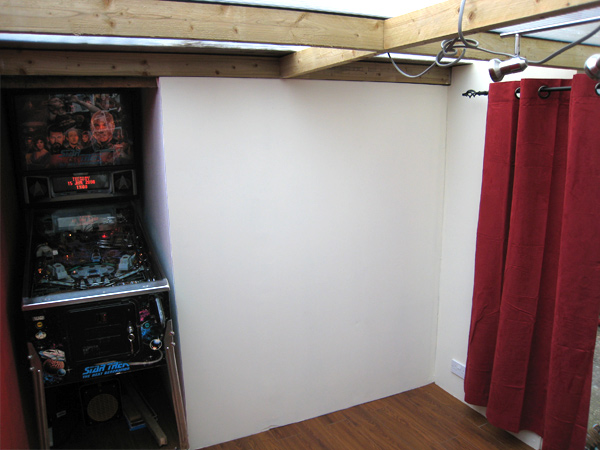
.. and of course, Pinball!! 🙂
3 comments.
Dan
Comment on May 23rd, 2008.
Can’t wait to see it on Sunday, awesome job.
Rob
Comment on May 23rd, 2008.
Oy, where’s my thankyou!
Looking good… 😉
Noz
Comment on May 29th, 2008.
John looks pretty hot in those shorts.
Leave a comment
Comments can contain some xhtml. Names and emails are required (emails aren't displayed).